

As an Amazon Associate I earn from qualifying purchases.
Embarking on the thrilling world of paintball requires not just skill on the field but also an understanding of equipment maintenance—especially when it comes to keeping your marker powered with a well-filled air tank. Whether you’re wielding a CO2 tank or a High Pressure Air (HPA) tank, the knowledge of how to safely and effectively fill these vessels is crucial for any paintball enthusiast. This essay will guide you through the nuanced characteristics of both tank types, ensuring you recognize which you have in hand. With the right information, filling your paintball air tanks using a compressor will become a routine task that enhances your play and ensures your safety.
Table of Contents
Understanding Paintball Tank Types
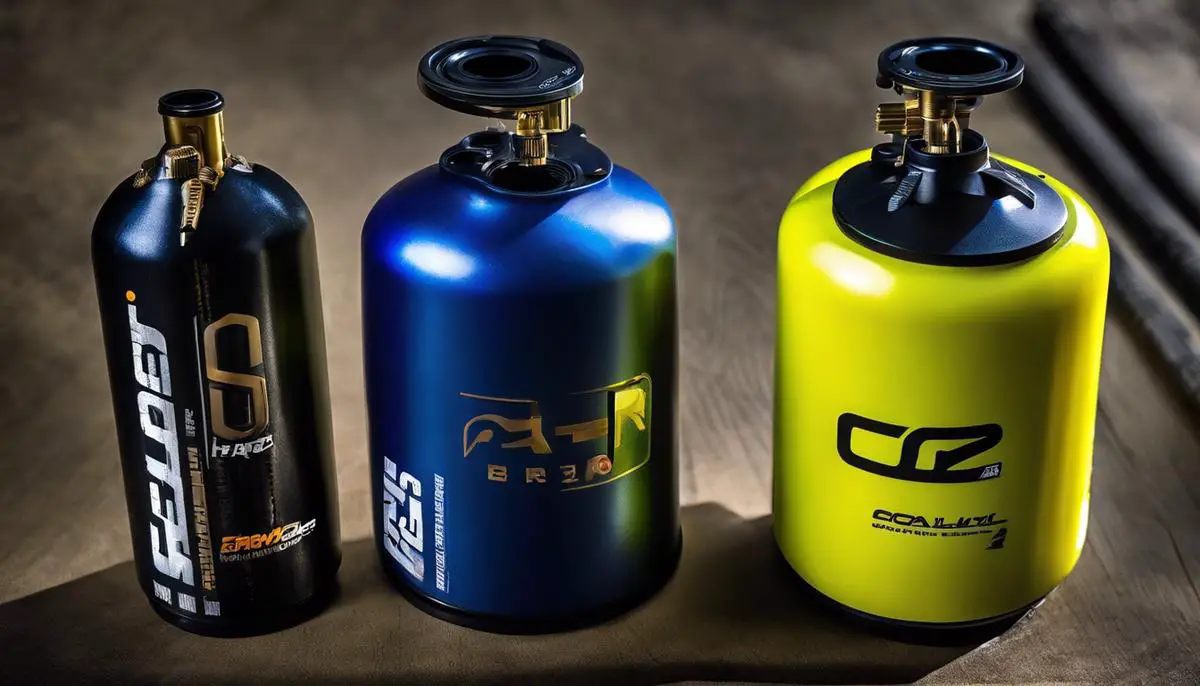
Decoding the Power Sources: CO2 vs HPA Paintball Tanks
Ready to dive deeper into the powerhouses of your paintball marker? Whether you’re new to the sport or an experienced player, understanding the differences between CO2 and HPA tanks is crucial for optimizing your gameplay. These two contenders – CO2 (Carbon Dioxide) and HPA (High-Pressure Air or Nitrogen) – each bring their unique strengths and quirks to the field.
CO2 – The Classic Choice
CO2 tanks have been powering paintball markers since the sport’s inception. What makes CO2 so alluring? Firstly, it’s relatively inexpensive and readily available at most paintball facilities. When filled, CO2 is in a liquid state inside the tank, expanding into gas as it powers each shot.
Temperature plays a significant part in how CO2 performs. Cooler temperatures can reduce the pressure inside the tank, which might cause inconsistency in shots and reduced velocity. On those warmer days, though, CO2 can give you that punchy, consistent power you’d expect from a well-tuned marker.
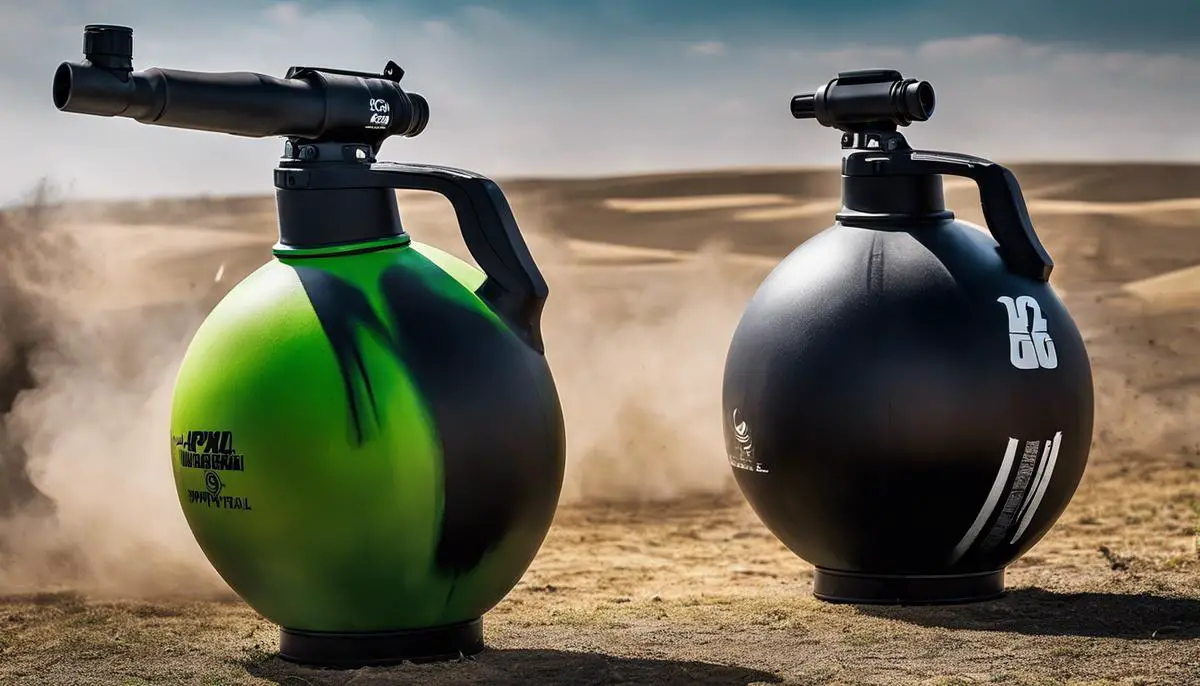
Given its abundance, CO2 is often the go-to for casual players or those just starting out. Moreover, CO2 tanks also come in various sizes, from the smaller 9 oz. tanks to the heftier 20 oz., perfect for longer games without the need to refill.
HPA – A Step Up in Consistency
High-Pressure Air tanks are typically seen as an upgrade from CO2. Filled with compressed air (or sometimes nitrogen), HPA provides a more consistent airflow to the marker. This consistency comes from the HPA tank maintaining a regular output pressure, regardless of the rate of fire or ambient temperature.
While HPA may be a bit pricier initially (both in terms of the tank itself and the cost to fill it), the benefits can be worth the investment. HPA tanks don’t suffer from the same temperature sensitivity as CO2, meaning your accuracy and velocity stay stable whether you’re playing in the heat of summer or the chill of fall.
HPA tanks are often designated with two key numbers: the pressure and the capacity—like 4500 PSI and 68 cubic inches. This capacity rating indicates the volume of air the tank can hold, while the pressure rating decides how much it can be filled.
Durability and Weight Considerations
HPA tanks are commonly made of aluminum or carbon fiber. Carbon fiber options are lighter and store more air for their size but are also more costly. CO2 tanks, on the other hand, are mostly aluminum. That means they tend to be heavier, though some smaller options are quite manageable.
Maintenance and Lifespan
Maintenance is a key difference between the two types of tanks. CO2 can be harsher on the internals of a paintball marker due to its very cold temperatures when expanding from liquid to gas. This means you’ll need to maintain your marker more regularly.
HPA tanks are easier to maintain and gentler on your marker’s internals, leading to a potentially longer lifespan for your gear. Plus, HPA tanks typically come with a built-in regulator, affording you precise control over the air output.
Both types of tanks require hydro-testing: CO2 usually every five years, and HPA every three to five years (check the manufacturer’s specifications). Hydro-testing ensures the tanks’ integrity and safety for continued use.
Final Thoughts
Picking between CO2 and HPA paintball tanks depends on the player’s game level, budget, and preferences. CO2 can be a great starting point, especially when budget or access to refill stations is a constraint. But for those looking for peak performance and consistency, HPA offers a clear advantage, albeit at a higher entry cost.
Ultimately, no matter the choice, understanding the power source characteristics of your paintball marker ensures a more enjoyable experience in the sport. Plug in a tank, and let’s hit the field ready for action!
Safety Precautions for Tank Filling
Filling paintball air tanks is an essential part of the sport, but it must be done with a great deal of care to ensure safety for all involved. Here’s a practical guide to the safe filling of paintball air tanks.
Step 1: Equipment Inspection
Before even considering filling a tank, make sure that all equipment, including the fill station, hoses, and tank fittings, is in good working order. Check for any visible signs of wear, tear, or damage. Any questionable equipment should be serviced or replaced.
Step 2: Personal Protective Equipment (PPE)
Safety glasses are a must to protect your eyes from potential flying debris. Additionally, wearing gloves can prevent frostbite from CO2 tanks and protect your hands during the process.
Step 3: Understanding Tank Specifications
Know the limits of the tank you are filling. Each tank is rated for a specific maximum pressure – never exceed this pressure. Check the tank’s label or stamped markings for this information.
Step 4: Secure the Tank
Ensure the tank is stable and cannot roll or move while being filled. Some fill stations have specific mechanisms or holders for this purpose. If filling by hand, hold the tank firmly to prevent it from turning into a projectile.
Step 5: Bleed the Line
Before attaching the fill hose to the tank, bleed any air in the line. This will ensure accuracy in filling and prevent potential overfilling due to trapped air.
Step 6: Attach the Fill Nipple Carefully
Connect the fill hose to the tank’s fill nipple gently, ensuring a secure and snug fit. Do not force the connection as it can strip the threading or damage the O-rings, leading to leaks or failure.
Step 7: Fill Slowly
Open the valve slowly to begin filling the tank. A rapid fill can cause drastic temperature changes that may stress the tank material, leading to potential failure.
Step 8: Monitor the Pressure Gauge
Keep a close eye on the pressure gauge, and fill only to the recommended capacity. Overfilling is dangerous and can significantly reduce the tank’s life.
Step 9: Listen and Observe
While filling, listen for any unusual noises like hissing or popping, and observe for any irregularities such as sudden frost buildup or bulging. If any of these occur, stop immediately and safely depressurize the tank.
Step 10: Close the Valve and Disconnect
Once the tank is filled, close the valve. Release any pressure in the fill line before disconnecting the fill hose. Gently remove the hose from the tank.
Step 11: Check for Leaks
After filling the tank, check for leaks by applying a soapy water solution around the valve and fill nipple. Bubbles will form if a leak is present. In such a case, do not use the tank until it has been properly serviced.
Step 12: Replace the Tank Cap
Once safely filled, replace the tank’s cap or cover over the fill nipple to protect it from debris.
Step 13: Log the Fill
Keeping a log of when tanks are filled can help with maintenance schedules and ensure the tanks are within the safety guidelines, especially for hydro-testing dates.
Remember, safety is paramount in paintball, and properly filling air tanks is a critical component of that safety. Take the extra few minutes to follow these steps; preventing accidents is always the prime objective. Enjoy the game with the confidence that your equipment is safely prepared for action!
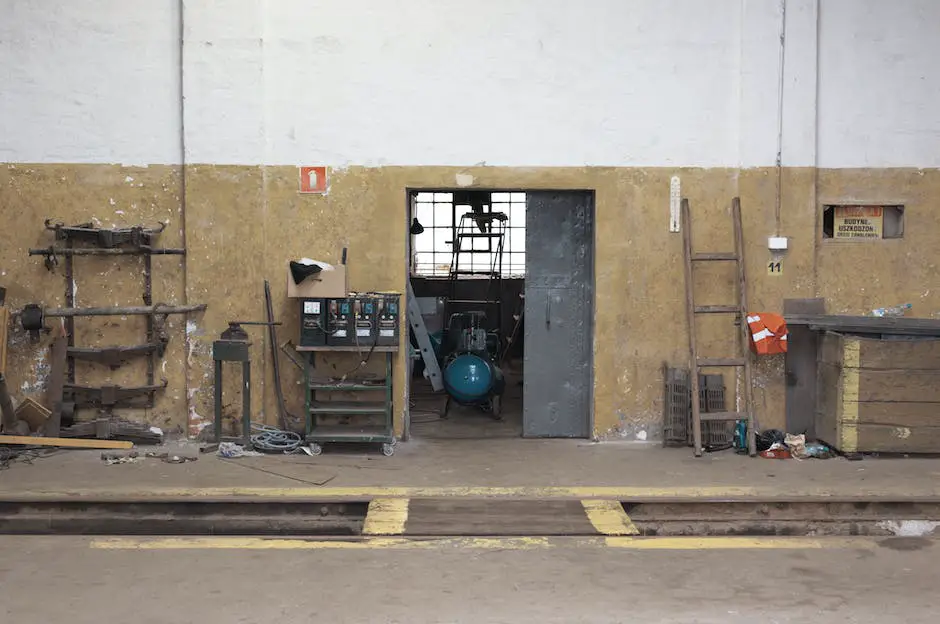
Using a Paintball Compressor
Operating a paintball compressor to safely fill air tanks is a critical skill for enthusiasts looking to maintain their own game-time arsenal. Let’s walk through the key steps to ensure a safe and successful tank fill.
First and foremost, match the compressor to the type of tank – HPA compressors for HPA tanks. Using the wrong compressor can lead to equipment damage or personal injury. Ensure the compressor’s output rating is adequate for the tank’s required fill pressure, typically expressed in pounds per square inch (psi). Compressors also come with recommended duty cycles; it’s vital not to exceed these as it can overheat the compressor.
With personal safety paramount, never overlook the role of PPE. Safety glasses should be worn at all times, as high-pressure air can propel particles or debris if a leak occurs. Always operate the compressor in a well-ventilated area to dissipate heat and avoid inhaling any generated fumes.
Before connecting the tank, inspect both the tank and compressor for visible damage or wear. Any suspected issues should be addressed by a professional. Confirm that the tank’s hydro testing date is current, and its structural integrity is uncompromised.
When ready to fill, secure the HPA tank in a designated filling station or holding device to prevent it from moving. A slipping tank can be a hazard. Ensure the compressor’s bleed-off valve is open to prevent air from being trapped between the compressor and tank, which could lead to inaccurate readings on the compressor’s gauge.
Connect the fill nipple to the tank’s fill station ensuring a tight and secure fit to avoid leaks. Remember, careful attachment prevents cross-threading that can damage the tank and fill station threading.
Commence filling slowly to reduce the risks of shock-loading the tank, which can occur due to rapid pressure changes. In addition, a gradual fill can reduce the temperature increase associated with compressed air entering the tank.
Eye the pressure gauge constantly throughout the process. Never exceed the tank’s maximum rated pressure. Filling beyond the manufacturer’s limit can cause tank failure, and maintaining a close watch for that needle is a non-negotiable safety protocol.
Listen intently for unusual sounds such as hissing or popping. These could indicate a leak or fault in the system. If heard, stop filling immediately and vent the air safely by following your compressor model’s decompression procedures.
Once the desired pressure is reached, close the compressor valve to halt airflow. Then, use the release or bleed valve to drop the pressure in the filling line. Only after this step should the tank be disconnected to avoid a high-pressure release of the connector, which could whip or fly off dangerously.
After disconnecting, check the tank for any leaks by applying soapy water to the valve and fill area and observing for bubbling. If no bubbles form, replace the tank cap to keep the fill nipple free from contaminants.
Lastly, maintain a logbook of fills for each tank. This will help track usage and remaining life before the next hydro-test, making for a responsible and organized paintball journey.
Remember, safety is as crucial as accuracy when it comes to paintball marksmanship. With these steps diligently followed, dive into the adrenaline-pumping world of paintball with confidence and competence!
Mastering the art of filling paintball air tanks is an invaluable part of the paintball experience. It not only empowers players to maintain their equipment but also reinforces the importance of safety on and off the field. By adhering to the safety precautions outlined and familiarizing yourself with the operational steps of a paintball compressor, you can ensure that your tanks are filled correctly, and your focus remains on the game. Embrace the responsibility that comes with paintball equipment management, and let it serve as a testament to your dedication to the sport.
Amazon and the Amazon logo are trademarks of Amazon.com, Inc, or its affiliates.

About Alwayne
Alwayne is a Pro Paintball Coach in profession. He has a long experience as a Paintball Coach. Now, Alwayne is sharing over 10 years of experience of all tips and tricks about paintballs. The reviews and guide are elaborate at its best!

