
As an Amazon Associate I earn from qualifying purchases.
Whether you’re a seasoned paintball enthusiast or new to the sport, maintaining your equipment is crucial for peak performance during the heat of combat. One of the key aspects of paintball gun care is a thorough cleaning and proper lubrication of your marker. While it may seem daunting at first, with a little patience and the right knowledge, anyone can master this essential skill. This guide will provide you with step-by-step instructions on how to expertly disassemble, clean, lubricate, and reassemble your paintball gun. Armed with these tips, you’ll not only prolong the life of your gun, but you’ll also ensure it functions smoothly when you’re out maneuvering and marking your opponents on the paintball field.
Table of Contents
Disassembling the Paintball Gun
Title: A Step-by-Step Guide to Safely Disassemble Your Paintball Gun for Cleaning
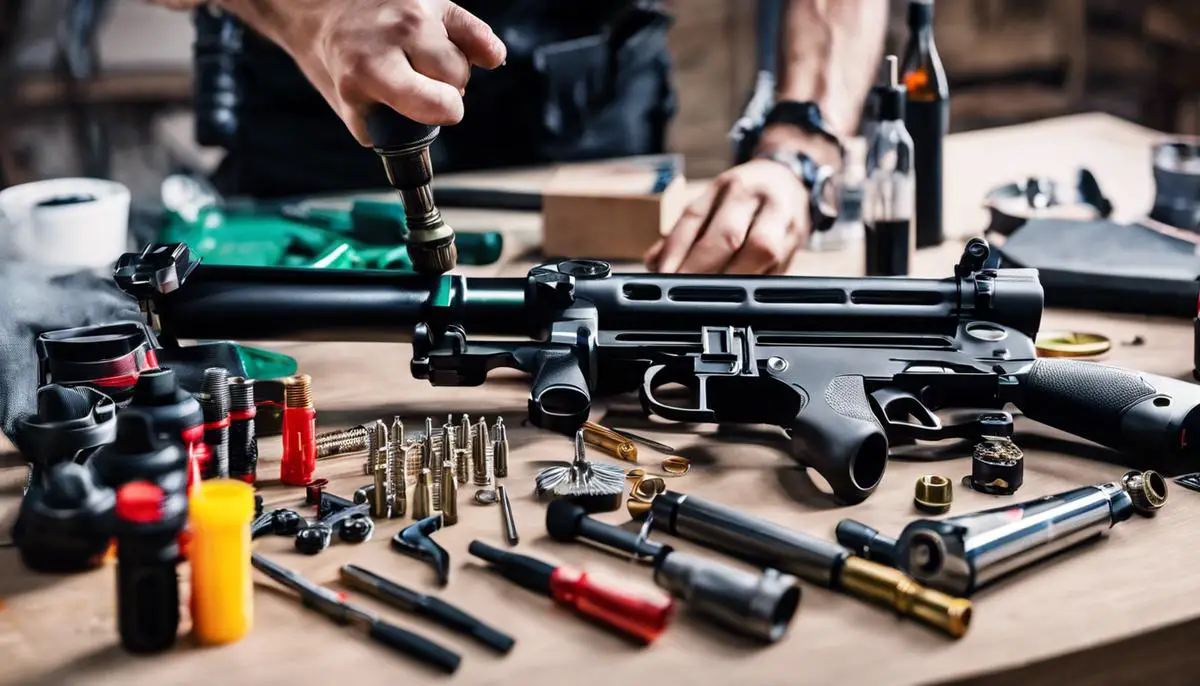
Hey there, paintball enthusiasts! Whether you’re a weekend warrior on the paintball field or a marksmanship maven, maintaining your paintball gun is key. Now, if you’re ready to take your gear maintenance to the next level, it’s time to learn the ins and outs of disassembling your trusted paintball gun for a thorough cleaning.
First things first, safety is the name of the game – both on the field and at the workbench. Before you dive into the nuts and bolts (literally), ensure your paintball gun is degassed and unloaded to prevent any accidental misfires. A clean, well-lit workspace and a small container for holding parts will also streamline the process.
Step 1: Degassing Your Marker
- Always start by removing the gas source. Whether it’s CO2 or compressed air, disconnect your tank by unscrewing it from the gun’s ASA (Air Source Adapter) – that’s your gun’s rear end, for those still getting familiar with the lingo.
Step 2: Removing the Barrel
- Gently twist your barrel counterclockwise and slide it out. This is usually the simplest part. If it’s a bit snug, don’t force it – a proper paintball lubricant can help ease things along.
Step 3: Taking Out the Bolt and Hammer
- Dive into the guts of your marker by carefully removing any retaining pins or clips that hold the bolt and hammer in place. Slide out these parts with care. And remember, a gentle touch will save you the headache of damaged components.
Step 4: Disassembling the Grip Frame
- Now we’re getting into the nitty-gritty. Remove screws attaching the grip frame to the gun’s body. Keep them in that container you set aside – trust us, they have a way of growing legs and wandering off.
Step 5: Removing Trigger Components
- With the grip frame detached, you can access the trigger components. Depending on your model, this could mean more pins and screws, so proceed with an attentive eye.
Step 6: Detaching the Feed Neck
- If you want a spotless marker, don’t skip the feed neck. Loosen any screws or clamps and remove it, but handle with care; we’re not in the business of cracking feed necks.
Step 7: Cleaning Time
- With your paintball gun disassembled, you can now clean every crevice and corner. Barrel squeegees, swabs, and a soft cloth can work wonders here. A light paintball oil application will keep everything moving smooth as silk once reassembled.
Step 8: Reassembling Your Gun
- This isn’t a race; take your time. Carefully place each part back where it belongs, reversing the disassembly process. After you’ve reassembled your paintball gun, give it a once-over to ensure everything’s snug and secure.
Once reassembled, give your paintball gun a quick function test (safely, of course) to ensure everything is in tip-top operational shape. A well-maintained gun not only performs better but also lasts longer, saving you time, money, and the frustration of gear malfunctions in the heat of battle.
So there you have it, fellow paintball gunslingers – a cleaner marker is just a disassembly away. Press the importance of routine cleaning for optimal performance but don’t overlook the joy of knowing your equipment inside and out. After all, the true spirit of paintball is not just in playing the game, but cherishing every aspect of the sport, even the maintenance. Hit the field with confidence, knowing your trusty paintball gun is clean, mean, and ready for action!
Cleaning and Lubricating
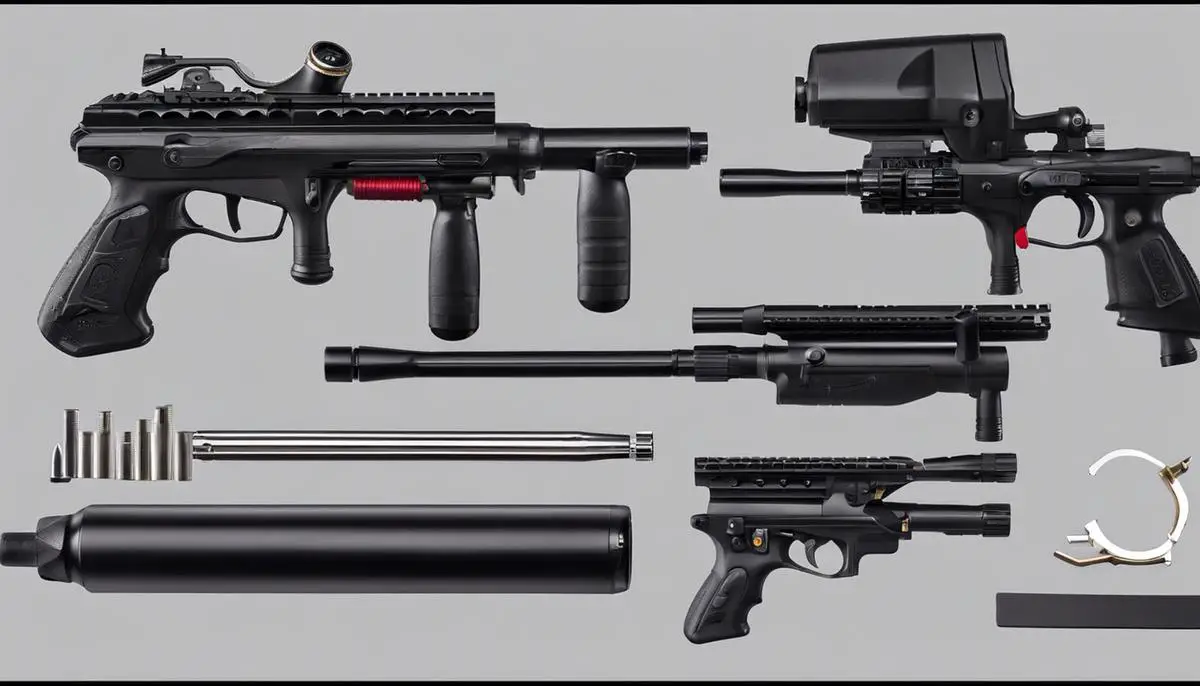
Once all the paintball gun components are laid out in an organized fashion, it’s time to clean and lubricate. The best method to ensure your paintball gun operates smoothly is meticulous cleaning followed by precise lubrication.
Cleaning the Internal Components:
Grab a soft, clean cloth and wipe down all the parts to remove any paint residue and debris. For tighter spots, use a small brush, such as an old toothbrush or a specialized paintball gun cleaning brush. Soak the brush in warm, soapy water if necessary, but remember to dry the parts thoroughly afterward.
For the barrel, use a squeegee or a barrel swab. Run it through the barrel several times until no paint or debris comes out. If you’ve had an intense playing session, it might be worth soaking the barrel in warm, soapy water before swabbing it clean.
Clean the body of the gun where the bolt and hammer resides. Take the soft cloth or brush and wipe out any paintballs broken inside, as well as other dirt that might have accumulated inside.
Lubricating the Internal Components:
Lubrication is critical for a smoothly functioning marker. Use only lubricants specifically designed for paintball guns to avoid damaging the o-rings and other components. Traditional oils can cause swelling and degradation of rubber parts.
Focus on the o-rings and any moving parts that interact with them. Apply a small drop of lubricant onto the o-ring and use your fingers to rub it in gently, ensuring it’s entirely covered but not drenched.
For the bolt and hammer, apply a light coat of lubricant along the surfaces that slide within the gun’s body. Again, the key is a thin layer to avoid attracting dirt and causing a gunky buildup.
Lubricate the trigger assembly lightly, paying close attention to any bearings, and making sure that the trigger action is smooth.
On reassembled grip frames, look for any moving parts that might require a small amount of lubrication. This can help alleviate any grinding or stiffness in the grip’s function.
Once lubrication is complete, reassemble your paintball gun, following careful and precise steps to ensure each component fits back exactly where it belongs. After reassembly, do a function check to ensure everything operates correctly. Actuate the trigger, check the bolt movement, and make sure the safety is engaging and disengaging properly.
With fresh lubrication and a thorough clean, a paintball gun should feel almost new. Smooth operation, consistent performance, and a reduction in friction-induced wear will keep the paintball gun in top condition, ensuring many more successful matches to come.
Remember, a well-maintained gun not only shoots more accurately and reliably but also stands as a testament to the owner’s dedication to the sport. Now that the gun is in pristine condition, it’s time to hit the field and enjoy the game with confidence in the tool at hand.
Reassembling and Function Testing
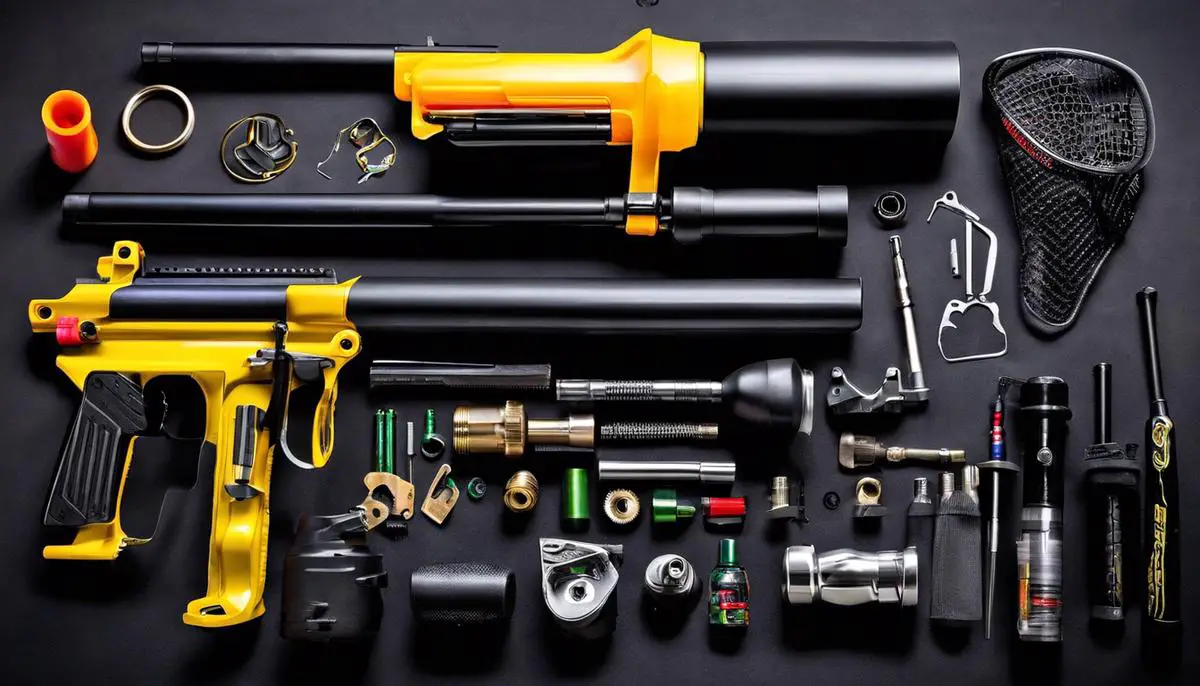
Ensuring that a paintball gun is properly reassembled and functioning safely is paramount for any enthusiast of the sport. Expertise in this domain not only enhances the paintball experience but also safeguards the user and other participants from avoidable accidents or malfunctioning equipment. The reassembly process should be meticulous, ensuring each component clicks back into its rightful place.
Begin by methodically connecting the grip frame to the main body of the gun. Make certain that it’s securely fastened, as a loose grip frame can affect the functionality and accuracy of your marker. Next step is to attach the trigger components carefully. The trigger is a central part of the firing mechanism, and its proper installation is crucial. Verify that the springs and connections are well-aligned and that the trigger snaps back into position after being pulled.
When reattaching the feed neck, confirm that it firmly secures the loader to avoid any unwanted spills of paintballs during the game. The bolt and hammer are equally critical; they should be reinserted without forcing them, ensuring they glide smoothly into their positions. The barrel, which influences the accuracy and range, should be screwed back on properly – not too tight, but enough to prevent any wobble.
Once fully reassembled, it’s essential to conduct a thorough function check of the paintball gun. Perform a dry fire in a safe direction to confirm the trigger and firing mechanism are behaving as expected. Inspect the gun for any unusual sounds or movements that may indicate something hasn’t been assembled correctly. Pay particular attention to the O-rings – if they’ve been improperly seated or are showing signs of wear, replace them immediately. Even small air leaks can lead to poor performance and should not be overlooked.
Moreover, a careful examination of the external screws and fittings should not be neglected. Each should be snug but be wary of over-tightening, which can lead to stripped threads or cracked components. After ensuring the marker’s exterior is intact, reviewing the velocity setting is a wise measure. Using a chronograph to test the speed of your shots will verify that the marker is firing within safe and legal limits.
The final step involves attaching the air tank and testing the gun with a few test rounds. Monitor for consistent performance, and if the paintball gun operates smoothly without leaks, erratic velocity, or misfires, you’re ready to go.
Fostering a disciplined approach to maintaining your paintball gun ensures not only safety but also a high-performing piece of equipment that you can confidently take into any paintball battle. The satisfaction that comes from a well-oiled machine is part of the thrill, allowing you to focus on strategies and skills, with your reliable marker ready for action.
Caring for your paintball gun is an essential part of the sport that extends beyond the adrenaline-fueled games into the meticulous realm of maintenance. By following the detailed guidance on disassembly, cleaning, lubrication, and reassembly presented here, you can rest assured that your marker will serve you reliably game after game. Remember, a well-maintained paintball gun not only performs better but also reinforces the safety standards critical to the sport. Regular cleaning is not just a chore—it’s an investment in your equipment’s longevity and your continued enjoyment of paintball.
Amazon and the Amazon logo are trademarks of Amazon.com, Inc, or its affiliates.

About Alwayne
Alwayne is a Pro Paintball Coach in profession. He has a long experience as a Paintball Coach. Now, Alwayne is sharing over 10 years of experience of all tips and tricks about paintballs. The reviews and guide are elaborate at its best!

